This was originally posted on February 27, 2020 on our website.
Updated 2025.
With food shortages and supply disruption regular topics on the news since March of 2020, it's prudent to begin considering how to ensure a healthy food supply in the midst of a chaotic world. For some, this will translate to a large garden, while others are limited to a windowsill. Do what you can, where you are, and enjoy the experience! Don't be afraid to experiment. Failure means you tried, and had fun while playing with dirt and seeds!
Have you heard of winter sowing? Of all of my years of puttering around in the garden and accidentally eating dirt (sometimes just not caring), I had never heard of it until winter 2018-2019.
I love it.
Winter sowing, as the name suggests, is basically planting seeds in the winter. It removes the need for grow lights or starting plants indoors, and considering the increased health risk of having a lot of soil inside, I highly recommend winter sowing over starting plants indoors.
Recommended Video: Non-Toxic Home Q&A- Plants in the Home
Isn't It Better to Start Seedlings Inside?
While one might think that plants started via winter sowing will lag behind those started indoors, many individuals- myself included- have put this theory to the test and discovered that not only do plants grown via the winter sowing method require less care, they produce just as much food as one started indoors, without the hardening-off period. Do note that when transplanting one does have to gradually expose plants to the sun over the course of hours or a few days, but even the tomatoes I have forgotten to do this with came back happy and produced nicely. They looked pretty pitiful for a few days and I wasn't certain they would make it, but they did and were robust despite this terribly toxic world.
From a health perspective, you generally do not want plants growing inside your home. Fungi, bacteria, and mold all come with serious health risks, plus having plants indoors places an unnecessary burden on your home's ability to handle moisture. One cannot have healthy plants without soil mycorrhiza. This means fungus. Fungus is not part of a healthy home, generally.
But, we all make compromises in this new reality we are facing.
For your health, please keep most soil-dwelling plants where they belong: outside. With that said, we do now have ivy and a couple of other select varieties of houseplants growing inside our home, with the reasoning discussed in this video. However, there really is no reason to start seedlings inside, as you'll learn in this article!
An Important Health Note
This is not to be considered medical advice. Consult your medical professional about anything health related. I am not a physician.
This post contains affiliate links. If you click through a link and make a purchase, I may receive a small amount of compensation. This helps pay expenses related to bringing you this information for free- thank you!
As an individual with a a previously compromised immune system, I used to have to be a bit more careful than most. So I used to put on a cheap latex-free paper face mask when working with potting soil, but I don't anymore as I've mostly healed my gut and am continuing to address root causes. While there are reports of some individuals contracting Legionnaire's from potting soil, digging deeper into the stories reveals that proper testing wasn't conducted and in at least one case, the person did not die of pneumonia due to the potting soil (that also wasn't tested), but rather from hospital-contracted pneumonia. Legionnaire's can arise more commonly from the water supply, and it appears that this was not properly investigated in reports of deaths/ illness from potting soil use. Still, it's better to be safe than sorry as bacteria and mold spores can be found in potting soil and we don't want that in our lungs. If you're healthy and aren't immunocompromised, I wouldn't worry about it for a second. Honestly, I'd recommend concerning yourself with the nnEMFs you are unnecessarily exposing yourself to instead!
Recommended Post: 5 Free Ways to Reduce EMFs at Night
I don't actually recommend the single-use face masks for a multitude of reasons, including an unnecessary toxic burden, but if there is a necessity of wearing one while working with soil (for example, if you have a compromised immune system), I'd recommend the organic options from Cottonique. If you have one of the allergy masks that I've previously recommended around, those would be effective.
Generally, you'll want to wash your hands after working with potting soil, especially before touching your face. Use common sense as with all things, but remember that dirt is our friend. It's not our enemy. We need not just soil to survive, but healthy soil!
Seriously, go outside, kneel on the ground, and immerse your hands in the dirt for a healing grounding session! You'll be surprised at the inner rejuvenation and healing you find from grounding. If the soil is frozen, go hug a tree and thank it for the much-needed oxygen.
What Can You Grow Via Winter Sowing?
I’ve grown squash, beans, cucumbers, various herbs, and a variety of other plants via winter sowing and been pleased. Nothing’s off limits in my world. Even carrots, beets, and other root vegetables that one “should never transplant” have been fine. Ask the deer how they tasted though. I wouldn’t know.
*sigh*
Fortunately, we have a deer fence up now!
Recommended Post: The Best Homesteading Books and Websites.
Tomatoes do amazing with this method. In the past I always bought my tomato plants with tomato harvesting starting in August. With winter sowing of tomato seeds, I usually have tomatoes in July. So winter sowing tomatoes definitely does not delay the harvest and oddly enough might even produce fruits early!
My peppers don't generally do so well germinating, but I also have used old seeds on occasion. I don't think I can blame winter sowing on my sad pepper crop some years, as I just don't seem to have a pepper seed green thumb. I still plant some every year though, because we just love sweet peppers!
Update: I grew a number of sweet peppers from seed in 2024. Keep trying!
How Do You Winter Sow?
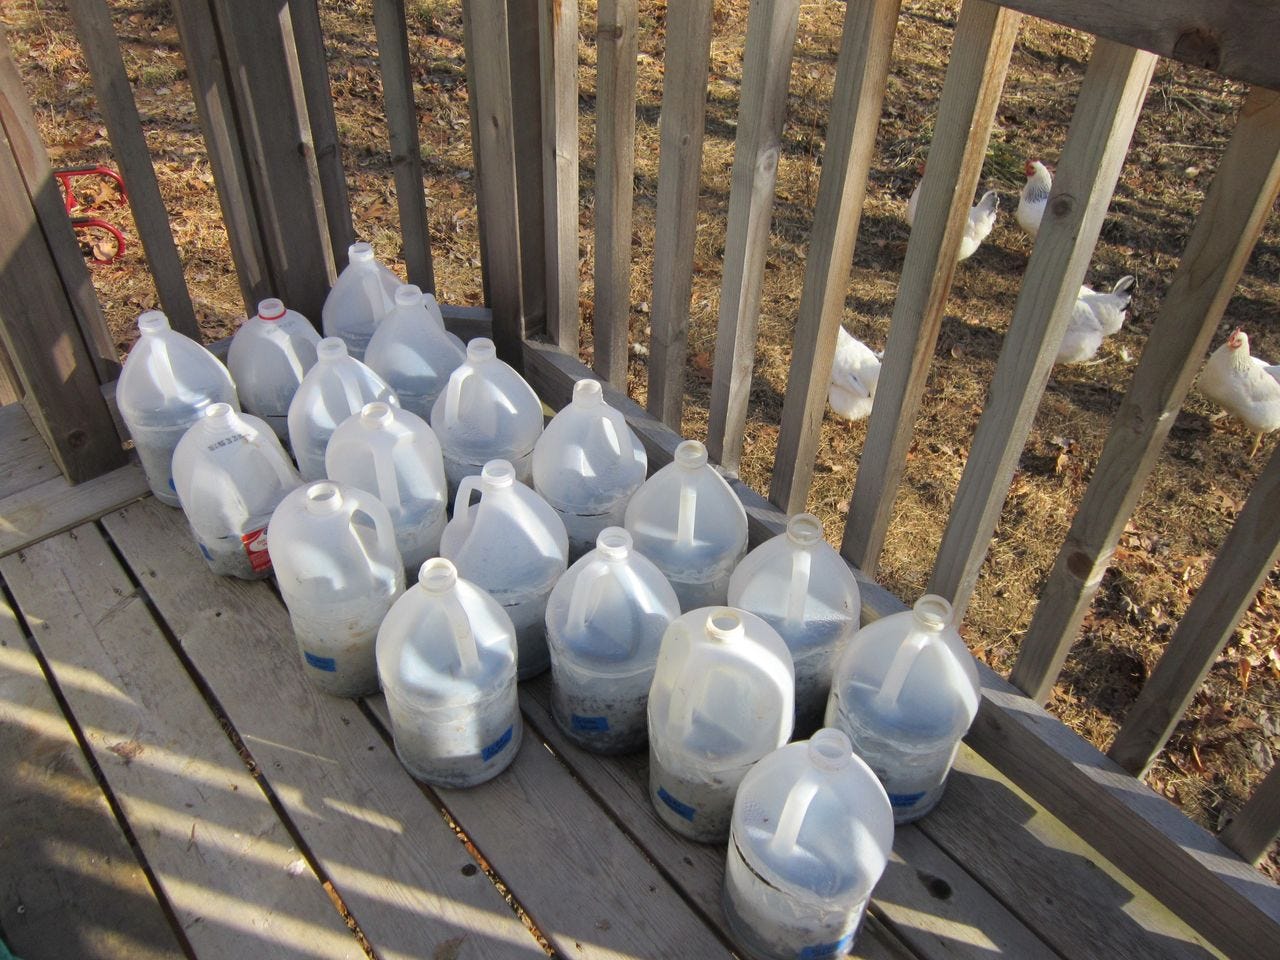
Winter sowing uses opaque or clear milk jugs, juice containers, and similar containers as miniature greenhouses. Simply cut most of the way around the jug just underneath the handle and add a hole on either side about an inch from the bottom for drainage.
Fill with dampened soil as high as your cut permits, add the seeds, water thoroughly, tape around the sides, and label. Be sure to use a permanent marker to label. Pens or pencils won’t hold up to the elements. If you use tape to label, be sure to use more than one label, just in case.
If you prefer a video tutorial, here’s a good one from winter sowing guru Sheryl Mann.
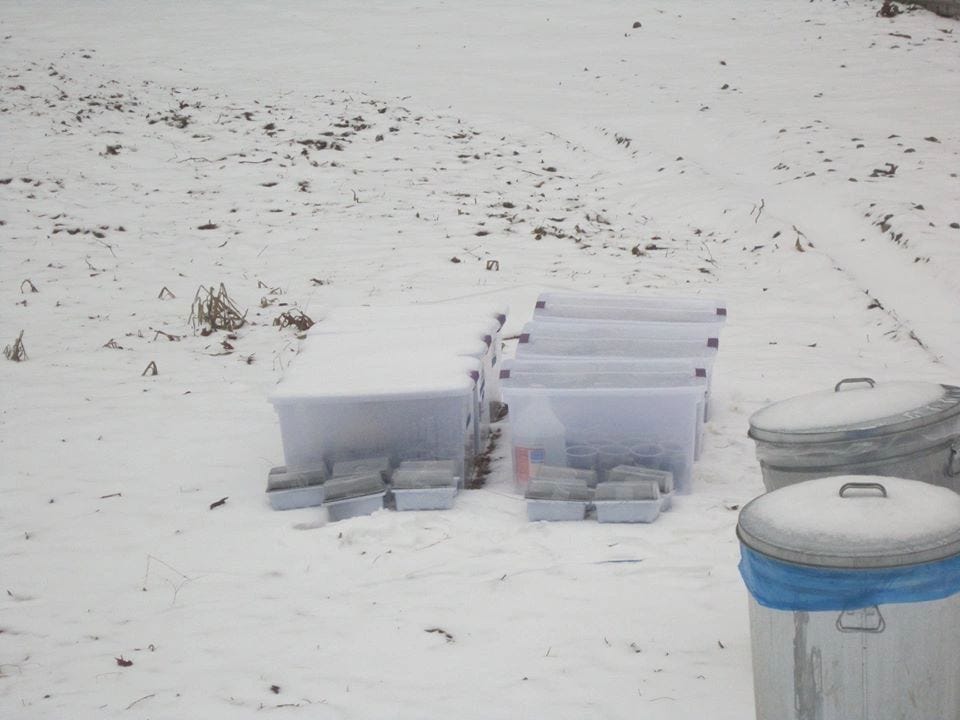
The year photographed above I had 20 jugs outside as that’s all I had collected I can’t risk picking up secondhand jugs. I checked them about once a month until spring arrived, but for the most part they were basically self-watering as they allowed rain in without risk of becoming a soggy mess.
This works phenomenally well. Two jugs of herbs that I forgot about one summer (oops!) ended up sprouting in a cold, snowy winter and I ended up with copious herbs the following summer.
This is an ideal method for most. Local recycling centers often have bins of plastic jugs and are happy if you cart them off to use as needed. Do be sure to call first though! Unfortunately, this isn't an option for me, so I rely on another method for my seed starting as well....
My Alternative Method of Winter Sowing
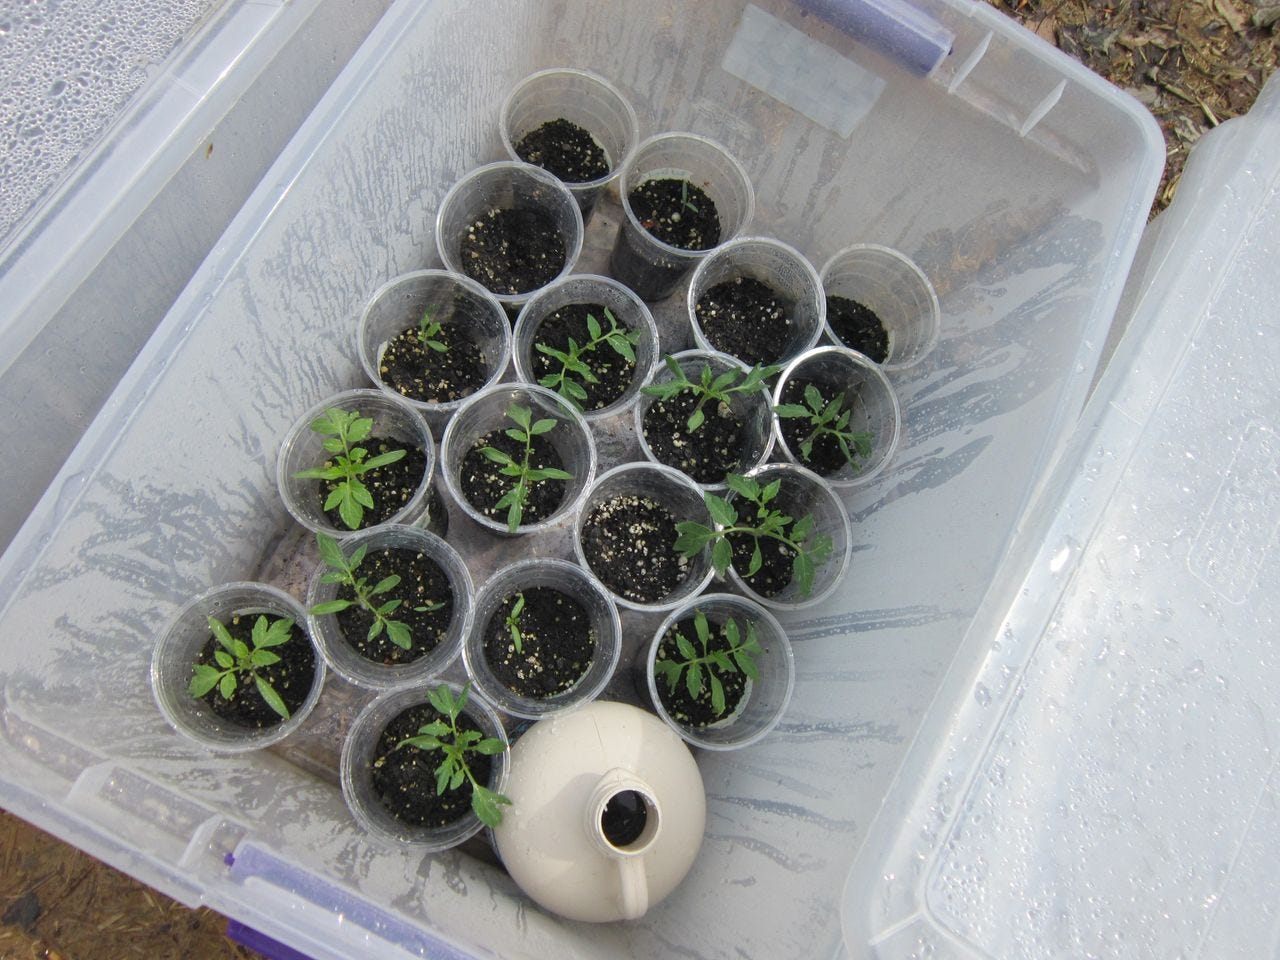
Because I need to grow a lot of food and don’t have many jugs or a greenhouse, I have developed an alternative method. Hard core winter sowing enthusiasts will ardently declare that this is not winter sowing. That's OK. They can call it whatever term they prefer. How about "Leanna's Method of Growing Stuff That's Similar to Winter Sowing?" Or we can call it the tote and cups method. Whatever floats your boat is fine with me.
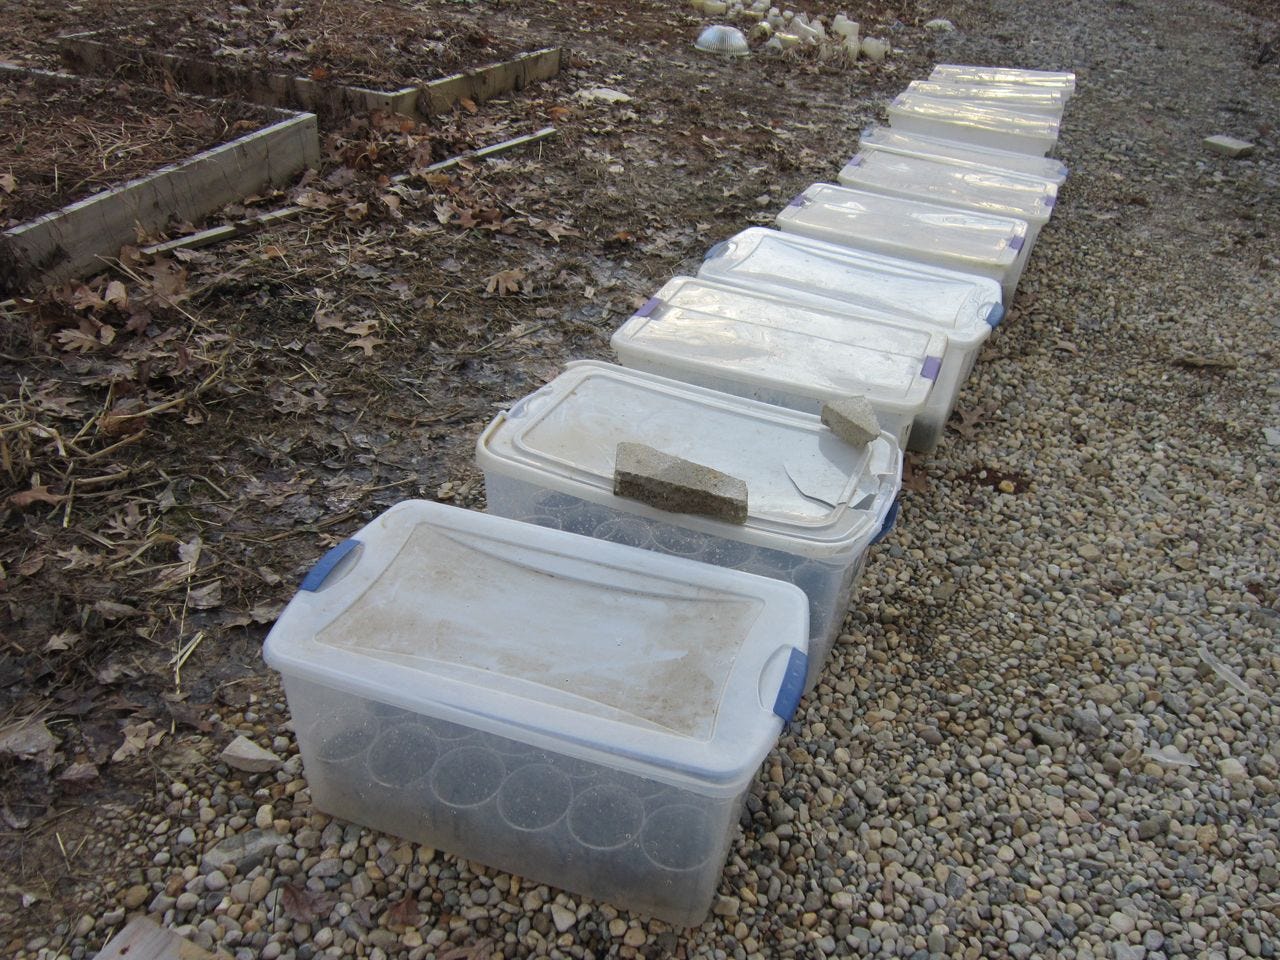
First, you're going to need some clear plastic totes. Don't try to cheap out and buy shallow plastic containers. You need room for your plants to grow! The last time I bought totes, I bought them from Wal-Mart for my hubby to pick up in the store: 66 Quart latching plastic totes from Homz. I've found that this specific latch on the end holds up extremely well to heavy winds while some other latching options fare rather poorly. As of this post these are $8.48 each from Wal-Mart or $42.15 shipped for a case of 6. This same amount may also be purchased on Amazon for around $50 shipped.
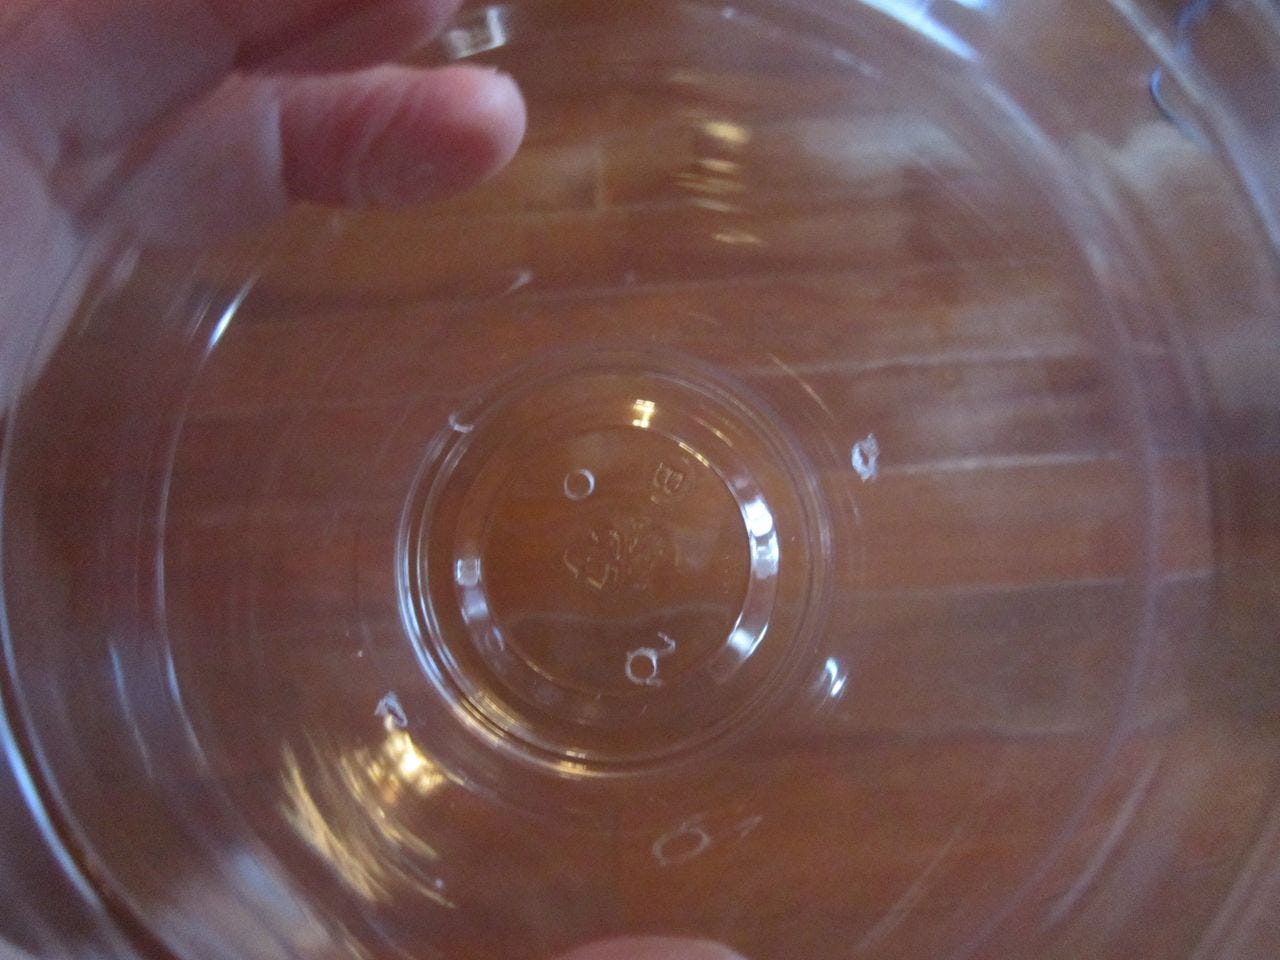
You'll also need 16 ounce clear PET plastic cups. I order packs of 100 or more at a time from Amazon, Wal-Mart, or eBay since I use so many for gardening. Wal-Mart seems to be cheapest. These provide more space for your plants to develop healthy root systems than the dinky little seed starting trays that most people use.
If you have a drill and a 1/4" drill bit, preparing your totes and cups will go so much faster. I have honestly never tried using anything else and would probably injure myself if I tried to use scissors or something else manual for this task.
For the cups, simply drill two holes on the bottom and one on either side about an inch up from the bottom. I drill through the bottoms of the cups two at a time for speed. This will be messy so be sure to have something to catch the plastic bits on the floor. It's repetitive work, so feel free to go at your own pace or work on it in multiple sessions. These holes are absolutely essential for drainage.
Drainage and ventilation are both necessary for the plastic totes. You'll need holes on the top and the bottom. I usually drill about 8-10 holes on each tote in the lid and on the bottom. This is definitely enough for the base, but when it comes to the lid you may need to experiment a bit. You can add more holes later if needed, or cover up holes with tape if you created too many.
Clean the plastic bits out of everything, label your cups, and plant as with the winter sowing jugs.
Now, this method is not ideal. It does still create a greenhouse effect, but it is imperfect since the moisture does not run back down into the soil. So close attention when it is sunny is an absolute must. At the same time, I went over a week last May without touching my totes when I had some sort of terrible chemical exposure, and all was not lost. My seedlings were dry and a bit sad, but adequate water perked them right back up. Plants want to live.
Seedlings do dry out more easily via this method, but it's still easier and safer than growing seedlings inside. Don't bring that mold and bacteria into your home unless absolutely necessary.
As of three years ago, we had a mild winter comparatively, but as of late February, there were probably 15 or so sprouts out there, much to my surprise! Since it was early and only hardy plants had come up to that point, I left them to see how they did with the cold. Once it got into late March, April, and May, I started covering the totes with a heavy tarp when it dipped below freezing. My seedlings survived fine.
One benefit of this method is that seedlings are already hardened off so I don't have to worry about frost. A few springs ago I transplanted some tomato plants early and simply topped them with a milk jug when we had a late frost. Just cut off the very bottom of a milk jug and press it down into the soil for instant frost protection.Who knew recyclables could be so useful in the garden?
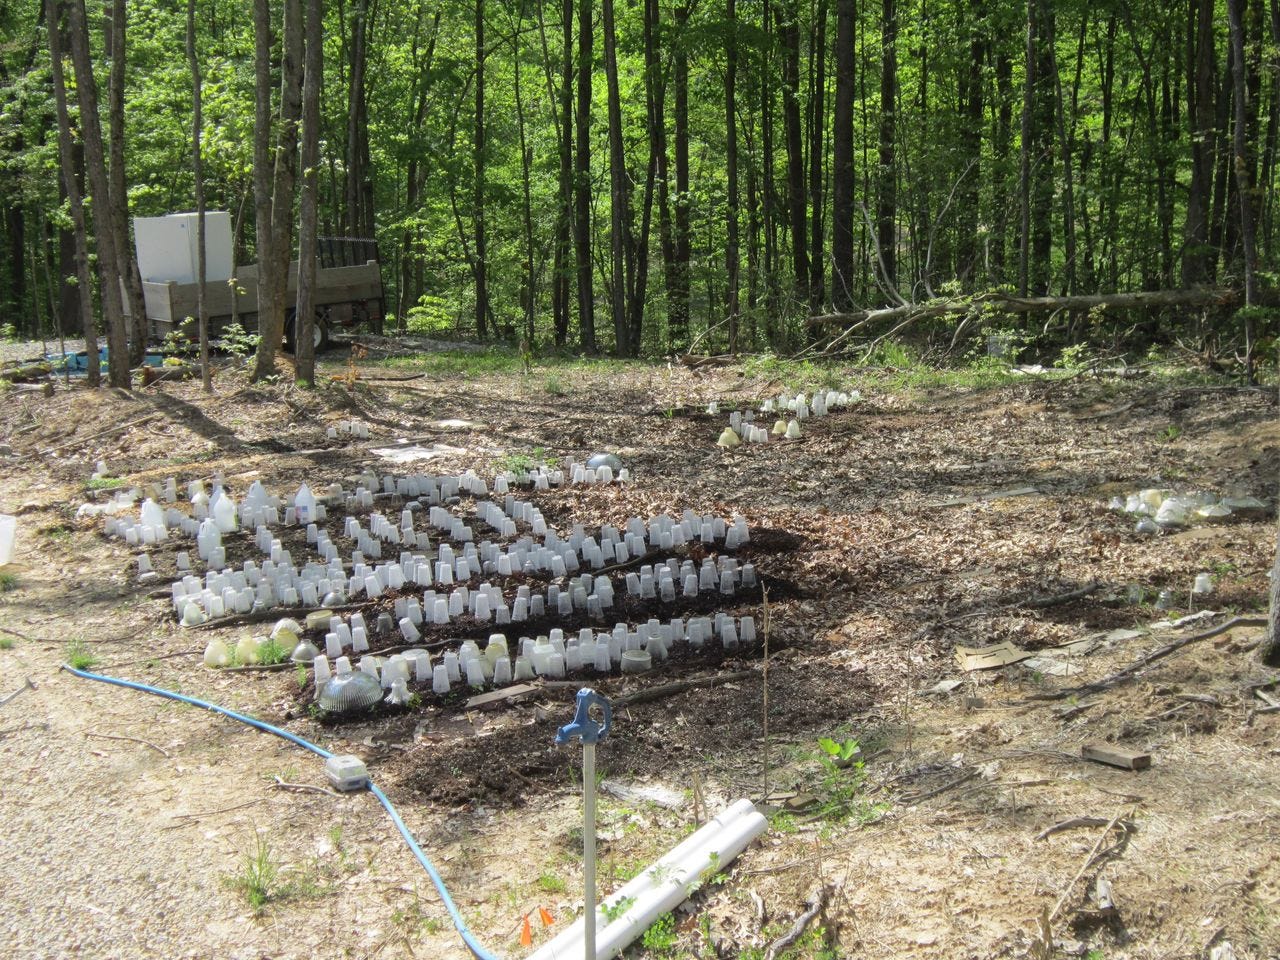
A similar option that I have used previously was to line up cups, large plastic tubs with holes drilled in the bottom, and random seed-started trays underneath a long piece of greenhouse plastic from Bootstrap Farmer. I set old boards across plastic totes, set the cups in between the totes, and weighed down the plastic over the top. It wasn't ideal, but it worked for the most part.
The clear plastic totes only last a few years due to solar degradation, so this is something to consider if you opt for this method. Experiment with what you have! Failure is just an opportunity to learn something.
What About Spring, Summer and Fall?
I use this method all year 'round! During the warmer months I use this method to give seedlings a jump start to transplant a month or two later. It works, however you must be very careful when it comes to the sun. During the sunnier months I keep my totes on the West side of our house where they have shade for half of the day. For the tote and cups method, I take the lids off of the totes first thing in the morning when I go outside to let the chickens out, and put them back on at night. The only reason I put them back on at night is because otherwise magical woodland creatures appear and steal my crops overnight, so this may not be necessary in your area. Jugs I usually keep near the house where they are in shade most of the day, while the totes only receive direct sun in the afternoon. I gradually move the totes into the full sun a few days before planting.
This also sort of addresses growing zones for winter sowing. Personally I live in USDA growing zone 6a (although the zone has recently changed- I don't care), but people from all over use this method. Alaska, California, Arkansas.... if it's hot and sunny in your area, simply put your jugs/totes/ whatever in partial shade and keep an eye on the soil moisture.
But It's PLASTIC!
Yes, this method uses plastic. I don't like it either, but this way I know that my seedlings have not been irradiated or treated with toxic chemicals- even though those chemicals are approved to be USDA organic. I also know what potting soil and fertilizers are being used, which can make a big difference for me as well.
Everything matters when you're sensitive to everything!
Clay pots might be better in some cases, but they could be worse when it comes to lead and heavy metals, plus they're comparatively expensive. It's a big unknown and every option comes with risk. I try to control as much as I possibly can and let God handle the rest. His hands are capable. Mine just drop stuff.
Can You Reuse the Supplies?
I reuse the plastic jugs, cups, and totes. Just wash them out, but be sure to do so outside. You don't want dirt going down your drains inside, leading to clogs.
One lesson I have learned is to place the plastic cups in a shaded area after use. I had to throw out a bunch one year that I stacked up next to my strawberry beds, intending to wash and dry them before storage. Some of the hottest, sunniest days of the year warped the cups, rendering them unusable.
Oops. Sorry, Earth.
NTWSing Is Better!
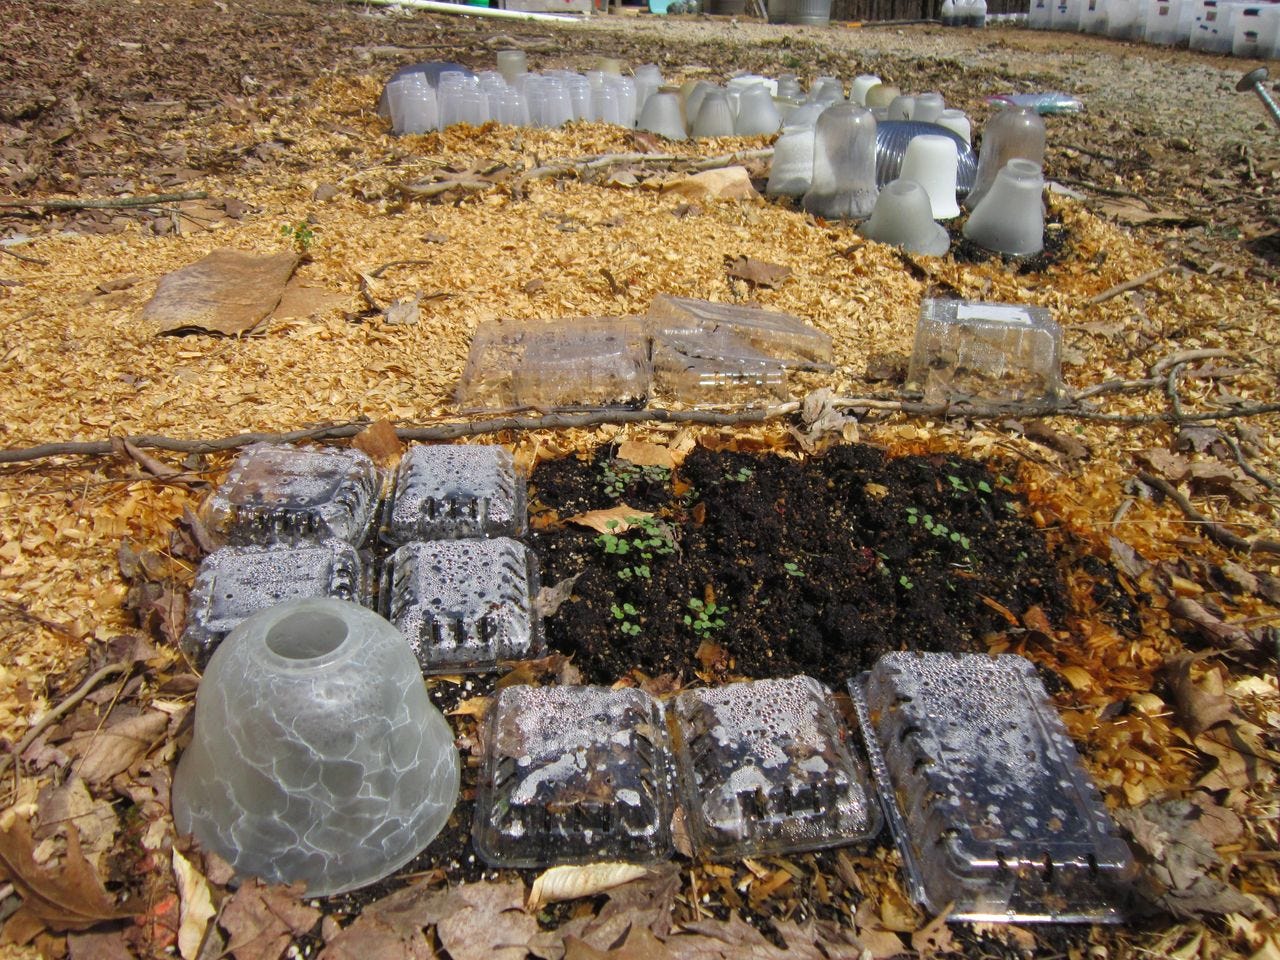
NTWSing, or No Transplant Winter Sowing, is superior in my opinion. It's less work, and much less toxic (if you use glass), taking plastic completely out of the picture. NTWSing, as you might suspect, doesn't require transplanting, which is wonderful. You simply plant your seed directly into the soil, water thoroughly, and place a cloche on top.
This year I'm going to experiment with this method in pots from Bootstrap Farmer. I'm so excited. I love experimenting in the garden!
Update: I forgot to do said experiment in 2024. Oops.
Quite possibly my favorite benefit of NTWSing is that it allows me to get my planting in without the pressure of typical garden sowing. I don't have to plant everything at once; if I have a bad day then I don't plant anything. If I feel wonderful then I'll plant an entire row. With just a little energy I can get a few seeds in. I do not do well with deadlines due to my fun variety of diagnoses, and NTWSing completely takes the pressure out of planting!
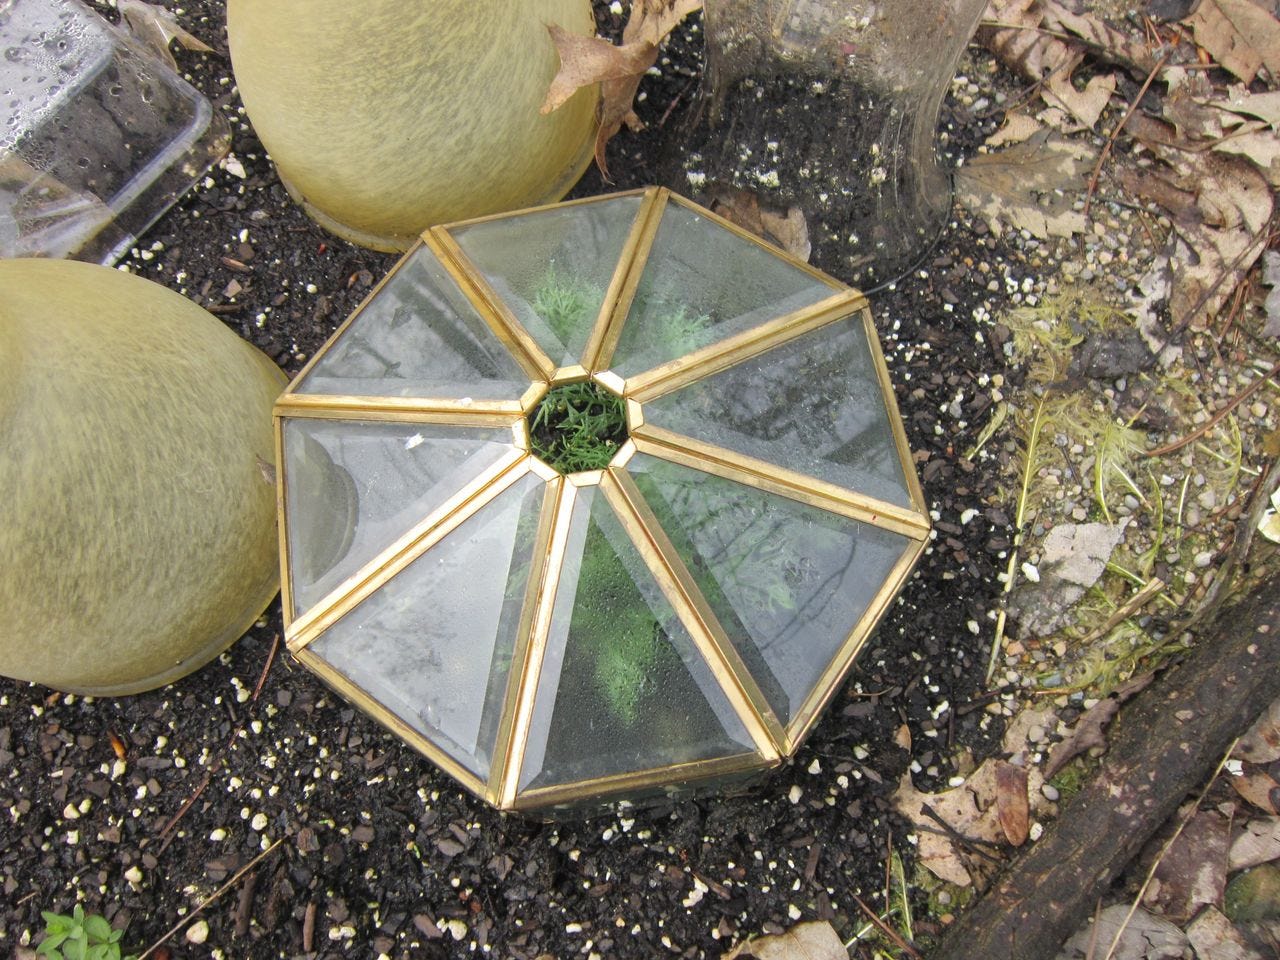
One spring when I was still able to go to ReStore, I picked up about 75 glass lampshades ranging in various sizes, costing between 25 cents and $3 each. Most were 50 cents to $1. Both clear and opaque lampshades work for this purpose, and considering the huge amounts of these products languishing about in stores such as ReStore, it's a wonderful way to reuse ugly 80s decor while being eco-friendly.
I do have two fairly large glass cloches with only one tiny hole in the middle and those require frequent watering, drying out quickly on a sunny spring day. The others with decently sized holes in the middle don't require much attention, though I do have to check on them more often than the plastic jugs. March, April, and May are all good months for NTWSing. Once it warms up and plants are decently sized, I'll set the glass cloches to the side, bringing them back out again when it starts cooling down in fall.
Truth be told, though, it's looking like we might have a warm beginning to our February. Guess what I'll be doing?
Update: Indeed, I was tilling the garden and planting via the NTWS method in February of 2024, as tree roots had invaded. While I prefer the no-till method, it's simply not practical in entirety here, and thus I till the perimeters now.
With the crazy pants weather these days, I think this method or growing in a greenhouse will prove necessary to ensure any yield. Our poor trees two winters ago budded out in December, then again in January, and wildlife has been equally confused.
In fall of 2024, our massive oak trees were flowering.
Sigh.
One can use plastic cups for this as well. Simply drill the holes as for seedlings and twist into the ground about an inch or so. The major caveat, aside from the use of plastic, is that if you don't screw the cups down really well into the ground, a strong wind can flip them over. Fortunately my garden is in a sheltered area so this is rarely an issue. More commonly in my area, mischievous nocturnal gnomes flip over the cups and steal the seeds. This is much less likely to happen with the glass cloches, but not impossible.
Oats and sunflower seeds seem especially desirable to these mysterious forest dwellers as I learned a few years ago.
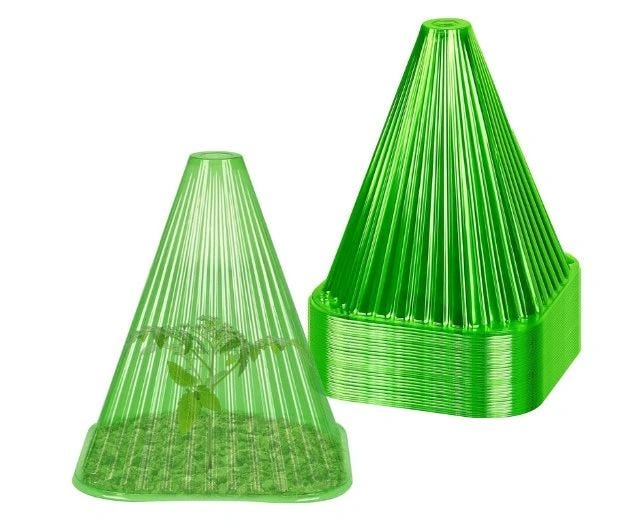
If glass cloches aren't an option for you, I have used these green plastic cloches from Amazon. I've used these three years now, and they do indeed do a good job of protecting basil and pepper transplants. However, in most cases I did use 2 or 3 at a time, and I was careful to ensure that foliage was not touching the plastic so as to avoid frostbite. You can also buy glass cloches on Amazon, if you live in an HOA or don't want dirty looks from the neighbors.
My members-only course Finding Healthy Property: Purchasing Land for Healing, Homesteading, and a Healthy Home shares why HOAs are optimal to avoid if possible.
Growing Greens in a Bag of Soil
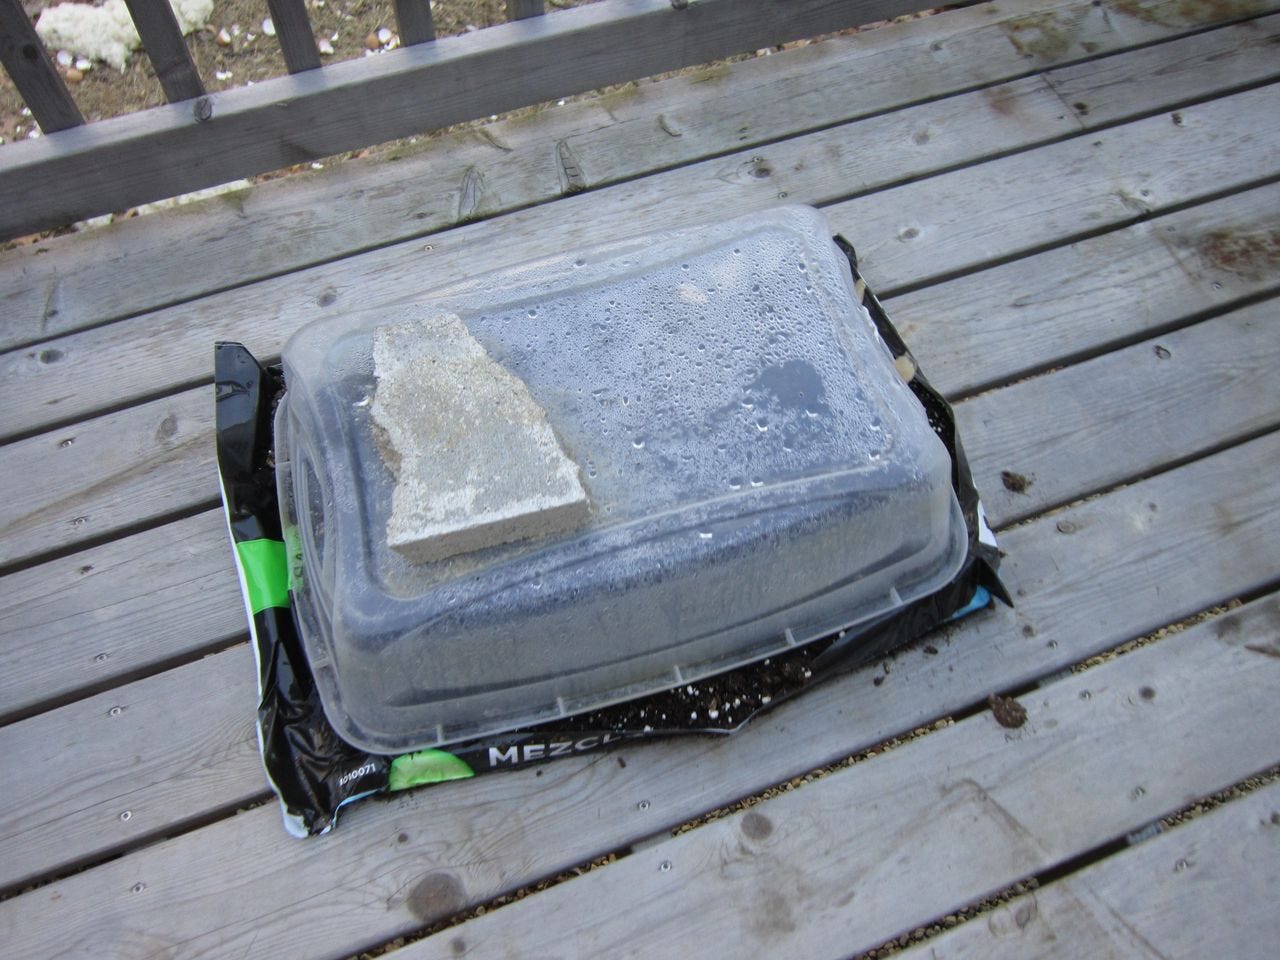
Near the end of January in 2020, at the insistence of my hubby, I cut open a bag of soil on our deck, fluffed it up, watered it, and threw some seeds in. I covered it with a plastic container that no longer has a lid to see if it works for growing greens in winter. In typical Leanna-fashion I forgot to make sure the plastic container was larger than the bag of potting soil, but surprisingly that wasn't an issue.
After creating this haphazard set up, I forgot about it. It's what I do.
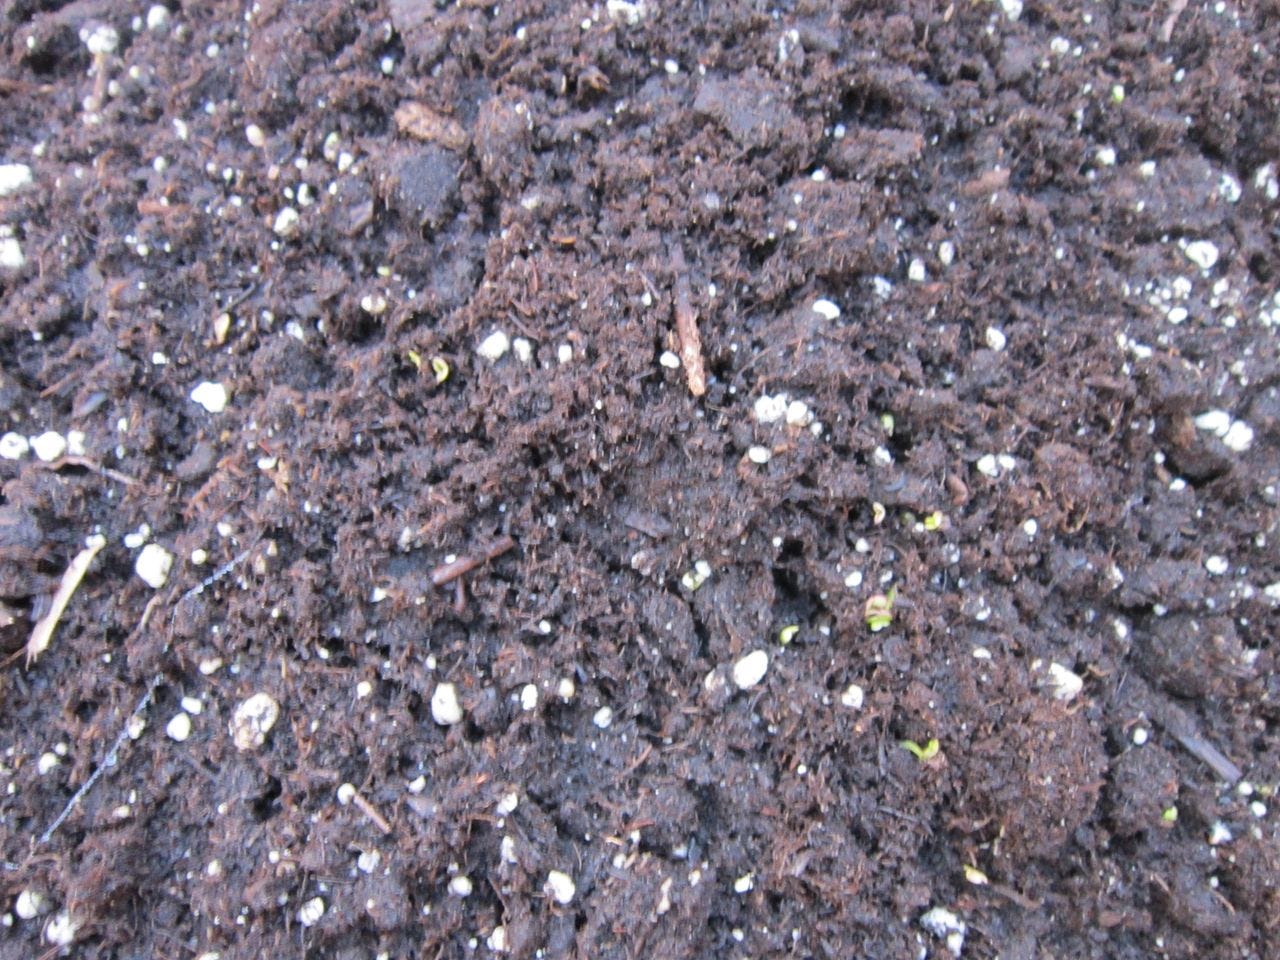
Imagine my surprise when I remembered it was on our deck a month later, and found some sprouts up! Once I realized there was actual growth, I checked it on it regularly, frequently checking the moisture levels. I had baby greens to nibble on for months, with minimal care!
This worked quite well, but the problem today is that most potting soil- including organic potting soil- is not safe for growing.
Recommended Potting Soil
We actually still have some potting soil in a little shed purchased years ago. Don't believe the propaganda. Potting soil doesn't expire.
While most "gardening experts" would faint at such an atrocity, I have used soil I gathered from under the leaves in our woods as potting soil without sterilizing the soil. We also have a compost pile which the chickens used to scarify (we can no longer free-range due to predators), and I've used that as well to plant directly in. The latter endeavor, for me, grew more weeds than anything, so when/if I do that again, I'll sterilize the soil first either via the oven or the sun to kill off the weed seeds.
If I chose to purchase potting soil today, I would try either Happy Frog or Ocean Forest, both of which I have used previously. However, living in a post-2020 world, please be very cautious in using any purchased potting soil, including from local sources. We've received compost full of cigarette butts from some local compost vendors, and some gardeners have ruined entire greenhouses by putting down "organic" soil that was "somehow" rife with a toxic chemical, killing all plants. This is definitely a buyer-beware situation.
What Seeds Do You Recommend?
I've personally purchased seeds from more sources and companies than I can remember. The most successful seeds are those sourced from as close to you as possible. Local seed swaps have become quite popular, and eBay boasts a search function to narrow down products to nearby sellers. Where eBay shows "best match" on a search results page, click there and select "distance: nearest first." It's generally pretty obvious which sellers are selling their own seeds and which are selling bulk-purchased seeds.
If you can, consider saving your own seeds as this is undoubtedly the best option. While there is a great deal of information online, information (including much of what we share) is actively being censored by all outlets. Thus, I recommends books such as The Seed Saving Bible as well as foraging books.
Recommended Post: The Best Foraging Books
Ensure you are purchasing heirloom seeds. Open pollination is not always necessary as that can produce undesirable hybrids- which are still edible, but not true to the source plant.
Previously I have purchased our seed potatoes from Seeds Now. They do offer a variety of other seeds, but that is all that I have tried personally. Personally I don't plan to plant potatoes anymore as something dug up every single potato last year before I was able to harvest most of the potato patch, and for some reason I don't have luck with potatoes in the garden. It could be the voles, which I fight. But hey, at least deer aren't trampling and eating my garden now!
We may offer a few excess seeds that we have saved to newsletter subscribers this spring. We shall see.
Positive Wrap-Up
As you have learned in this extensive article, there isn't just one method of winter sowing- there are multiple methods! Navigating this Brave New Super-Toxic World isn't easy, but we're here for you.
If you've found this post informative, be sure to sign up for our free newsletter for videos, articles, and more from our non-toxic homestead!
Click here for ways to support us, if you appreciate the effort taken to share this information.
Recommended Posts
Creative Food Sources Amidst Shortages
My Cheap Greenhouse Alternative
What Is It Really Like to Have Environmental Illness?
How 5G Stole My Only Safe Grocery Store


